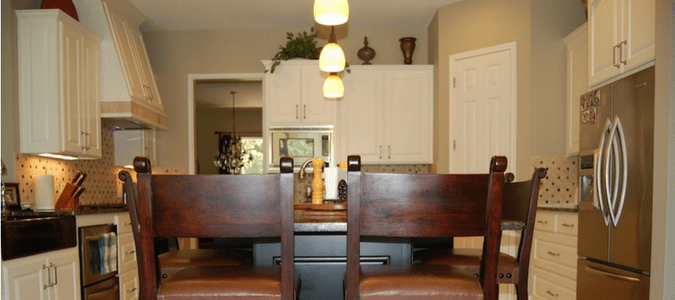
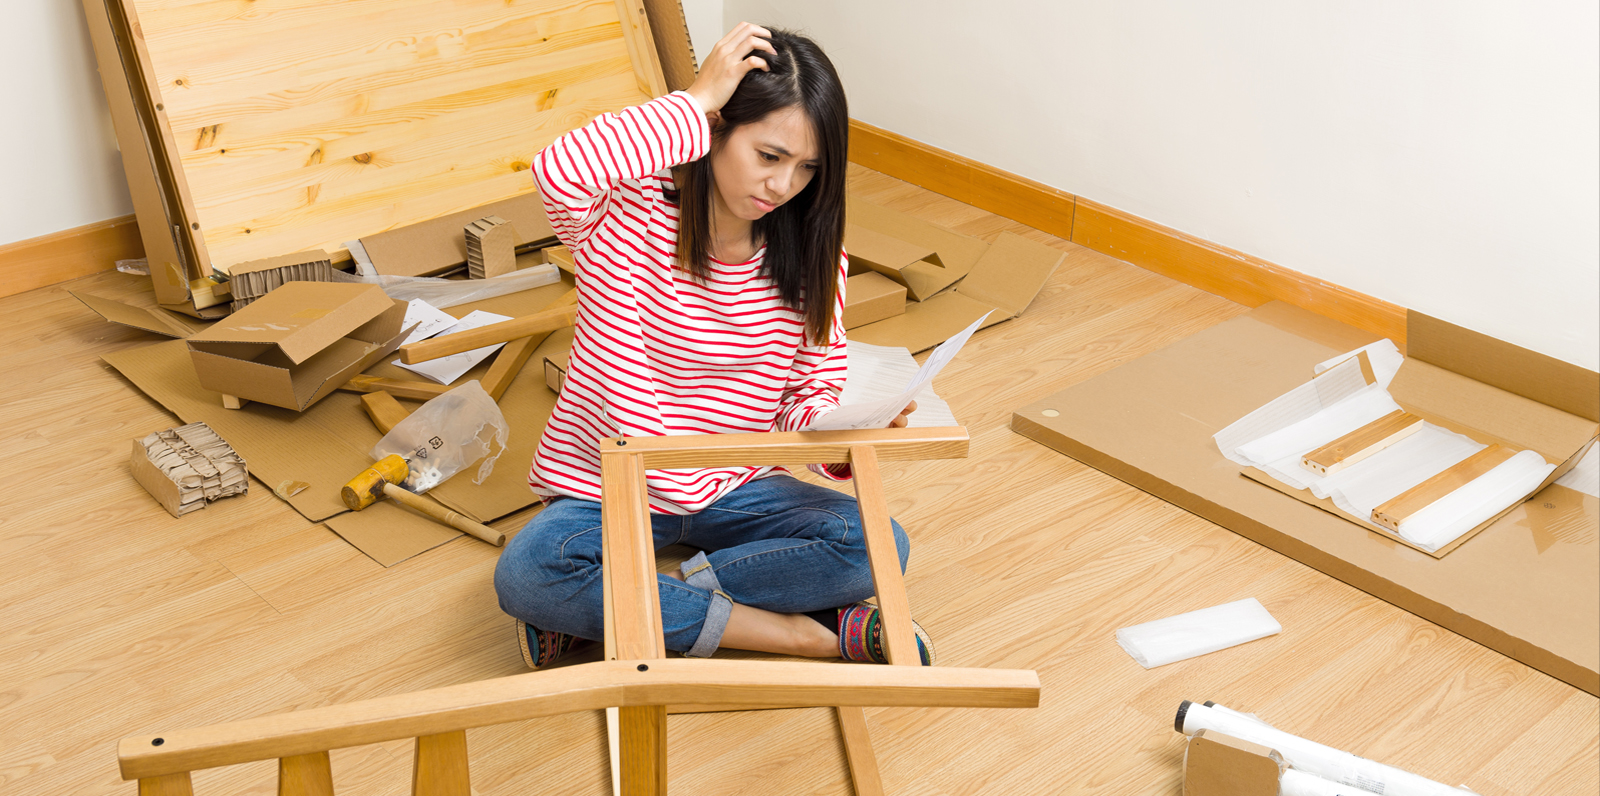
You can assemble many flat-packaged furniture pieces yourself. This can help you save money and provide a sense of satisfaction. Additionally, scheduling conflicts can be avoided. A lot of people prefer to hire a professional furniture assembler because they lack the time and tools. For your safety, make sure you consider these tips before hiring a company to put together your furniture.
Wayfair furniture assemblers will charge between $60 and $450 per piece
If you've bought Wayfair furniture before, you can save time and money by assembling the pieces yourself. The company sends its furniture in boxes with detailed instructions and photos. Wayfair furniture comes with everything you need to assemble it. Hire a professional if your patience and time are limited.
Additional costs should be considered when choosing a furniture assembler. These fees can vary depending on the location and zip code. Usually, the assembly fee is added to your order at checkout. Many companies also include disposal and delivery charges. Some assemblers may charge a minimum fee to cover operating costs. When contacting them, ensure that you provide your zip code. Wayfair charges no additional fees for delivery and assembly. However it will most likely impact the price of your order.
LoadUp assembly & disassembly costs $90 - $150 per hour
A professional can be hired to assist you with assembling furniture. They charge between $90 and $150 an hour for labor but can save you time and money over attempting to assemble each item yourself. Even better, you can pay an extra fee to have more than one piece assembled by the pros.
Prices vary depending on how large the furniture piece is to be assembled. Tables and chairs are smaller and easier to assemble than larger pieces. They also cost less. Desks and chests on the other side are more complex to assemble and will run more. Prices for cubicle assembly start at $100 and can go up to $1,000.
TaskRabbit is a partner of IKEA in assembling furniture
Ikea, well-known for its affordable furniture is now partnering with TaskRabbit to offer new services to customers. This includes assembling and mounting furniture. You can choose a piece of furniture to order, pay and then request a Tasker for the job. The Tasker will match you with a worker in your area. You can rest assured that all Taskers have been through background checks and identification checks.

The service is now available in select areas of California and New York and will start in January 2018. A Tasker can be hired on the spot and customers pay only when the task is done. IKEA also offers DIY furniture assembly services. The service is available online, but it is also available at select stores. You can schedule a service or book a Tasker directly on-site.
FAQ
Do I need a license in order to become handyman?
A license is not required to become an independent contractor in most States. However, you will still need to meet certain conditions:
-
Minimum 18 years.
-
Have a high school diploma or GED.
-
Take a four-week course at vocational school.
-
You must pass a background check at the Department of Licensing.
-
To register for an annual subscription, pay $20
You will also require business licenses as well workers' compensation coverage.
What is the average time it takes to become a handyman.
To be a professional handyman it takes years of hardwork. It usually starts with helping friends and family and gradually expands into a full-time career.
As you learn, you'll be able to master all of the necessary skills.
Should I pay a handyman by the hour or per-project basis?
It comes down to personal preference. Some prefer to pay per hour so they can see the actual cost of their handyman. Some prefer to pay for each project, even though they may be doing multiple jobs at once. It doesn't matter which way you go, it works great.
What is the cost of handyman services compared to general contractors?
Yes! Sometimes a handyman is a cheaper option than a general contractor. This is especially true for those who have never had a contractor do a job. Handymen can also speed up the completion time of projects because they are skilled at completing specific tasks faster and more efficiently.
Statistics
- With a strong housing market, the handyman and general maintenance worker industry are expected to grow by nearly 10% in the next decade. (housecallpro.com)
- According to the U.S. Bureau of Labor Statistics, in May 2020, there are 1,357,630 handymen employed in the U.S.. (angi.com)
- Another estimate was that the market in the United States was $126 billion and was increasing by about 4% annually. (en.wikipedia.org)
- Mila keeps a commission of 20% for each completed service performed by Friends and charges various service fees regarding work done by Pros. (appjobs.com)
- “Before the pandemic, 40% of people asked how we could estimate a job when we weren't there,” Rose recalled. (inquirer.com)
External Links
How To
How to replace a broken tile
Step 1 - Take out the old tiles.
You can remove the old tiles from your floor and save them. These tiles should be kept intact in case you need them again. You can note the parts that are missing or damaged so that you can find replacements.
Step 2 - Choose New Tiles
Take a look at some different options available for tile replacement.
-
Locate a replacement tile that is the same as the one you just removed.
-
To find the right piece, take the measurements you took as you were removing the tiles. This will allow you to quickly find the right size, without having to measure again.
-
You should look for different colors, patterns and textures.
-
Consider what grout you prefer to use. Some people prefer solid color; others enjoy mixing it up.
-
It is important to ensure that the tile you choose resists moisture.
-
Make sure you consider where your tile will be placed. It can help you save money and time.
-
Once you've picked your tile, place an order online or call your local Lowe's location to place it.
Step 3 Install the new tiles.
For your new tiles, use the same method that you used to install them. Make sure they are aligned correctly so that they fit together perfectly.
Step 4 -- Clean Up
Be sure to vacuum up all crumbs and debris before applying the last layer.
This will prevent dust and dirt from building up between the tiles.
Step 5 - Sand the Floor
After you have cleaned everything, sand the floor to remove any particles that were left from the previous step.
Step 6: Finish off
Once the floor is smooth, apply the protective coatings. It's important to wait until this point because wet paint can stain the surface of the new tiles.
For stain protection, you can always use a product called "damp&dry" to clean your floors.
It will not address all problems that may arise once your tiles have been installed. Consider adding an anti slip coating to your protective layer if you have kids.
Remember to let the protective sealer remain on for several additional weeks before you move into your home.